
I wanted to build a RGB LED Strip based Audio Spectrum analyser , I looked at various projects and they belong to two categories, one with a MSGEQ7 Spectrum Analyzer chip and one with pure software FFT. I chose to go with pure Software FFT project, the one that had all the features and performance I was looking for was from
https://github.com/donnersm/FFT_ESP32_Analyzer
When this code detects silence it automatically Switches to a Fire Screen saver, which was really cool. This got me thinking to see if I can add other effects to this project.
https://github.com/marcmerlin/FastLED_NeoMatrix_SmartMatrix_LEDMatrix_GFX_Demos
https://github.com/Intrinsically-Sublime/esp8266-fastled-webserver
The above projects had a bunch of screen effects that Integrated.
I also wanted much better control over things like filters , timing and effects , So I decided to port a webserver that I had developed for another project to this.
This project has the following Features.
- FFT Based 32 Band Audio Spectrum analyser that drives a 16×32 ws2812b based Serial LED Matrix .
- Has 11 Spectrum Effects and 30 Screen Saver Effects.
- Can be controlled from Mobile Phone in AP mode or you can connect to your home WiFi and use it from the browser / app.
- Update the firmware over http OTA.
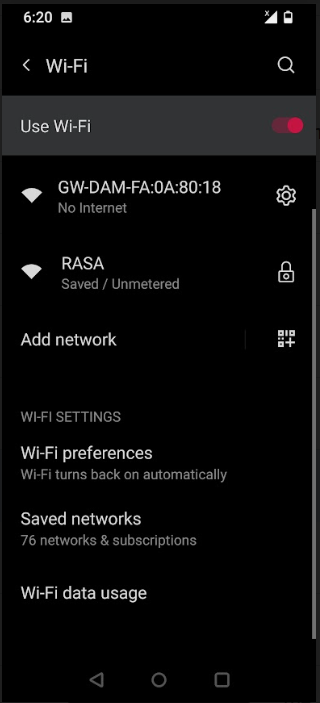
When the Device is booted it will start in AP mode supporting a Captive portal.
In your Mobile phone scan for Wifi Networks and you will see GW-DAM-XX:XX:XX:XX AP
Connect to it ,It should automatically open the following page. If it does not, open the web browser and enter http://8.8.4.4
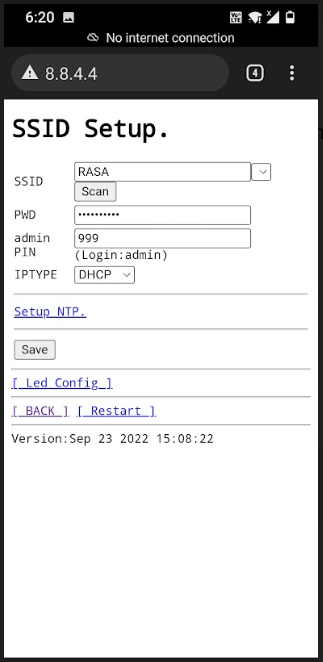
Here you can enter your home WiFi SSID and Password or if you can directly click on
Led Config link at the bottom and configure the display.
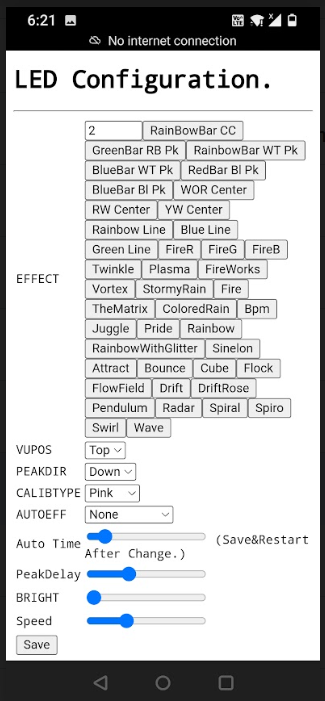
In this screen you can control all the features of the Display.
You can see a demo video here
GitHub Code Links
Modified Code.
https://github.com/RasaAudio/gSpectrumAnalyzer
Original Code for Spectrum Display From https://www.facebook.com/TheelectronicEngineer
Original Code for Effects from https://github.com/marcmerlin/FastLED_NeoMatrix_SmartMatrix_LEDMatrix_GFX_Demos
https://github.com/Intrinsically-Sublime/esp8266-fastled-webserver
and Uses Adafruit GFX libraries
I have modified the neomatrix_config.h file for my display you should be able to modify it for your exact led matrix layout and everything else it should work as expected.
Build Instructions:
Download the code from
https://github.com/SunRays979/gSpectrumAnalyzer
open the ino file in arduino-1.8.19 (others might work too).
Install the following libraries using the library manager.
ESP32_HUB75_LED_MATRIX_PANEL_DMA_Display
Adafruit_NeoMatrix
EasyButton
arduinoFFT
Adafruit_BusIO
Adafruit_GFX_Library
FastLED
Framebuffer_GFX
FastLED_NeoMatrix
Then just build and flash your ESP32.